Section Two: Getting Started
Button Identifiers
 Record arm
 Pause recording
 Stop recording
 Toggle View (Hides various interface elements to shrink the window)
 Allows you to display screen annotations
 Toggle between flash and AVI
 Auto pause function; Requires stopwatch to enable
Getting Started
After you have launched the CamStudio application, you can record immediately by clicking the Record button If you notice video abnormalities( ie. video distortion), try a different video compression setting. To do this: choose Options, then select Video Options.
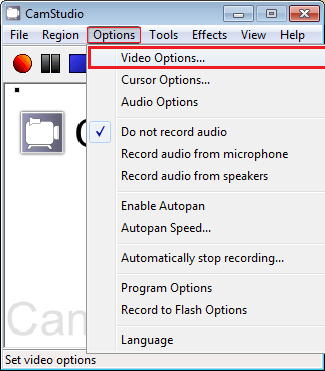
Figure 1
Under the drop-down menu, you may select any of the four video compression options until your video outputs a clearer picture.

Figure 2
You also have the option to adjust the recording area. This is done with the Region menu.
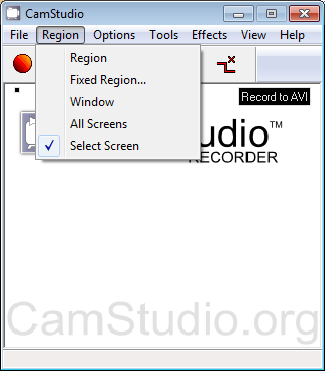
Figure 3
Region allows you to highlight a recording area(after clicking on record) using your cursor.
Fixed region allows you to permanently set the size of the recordable region. This makes it easier to choose large recording areas without having to expand the cursor each time you select Record.

Figure 4
Window lets you record to a single window. Upon selecting the record button, you are able to click on a window, and CamStudio will capture everything within that window.
Screen is similar to window except that CamStudio will capture ANYTHING that actively appears within the screen(not limited to a single window).
Once you have finished recording your session, click the Stop button from the CamStudio menu. This will then prompt you to save your video into a folder.
NOTE: You may also want to go to Options, Program Options, then select the first choice allowing you to Minimize Program On Start Recording. This will ensure that your CamStudio window won't be in the way of your recording area.