BlueGriffon Tutorial
Creating the Site Directory
Before you even open BlueGriffon to begin creating your first page, it will first be necessary to create a folder on your hard drive (or Google Drive) where all your pages and their associated content can reside. This will make it much easier to upload your site using the FTP program when the time comes.
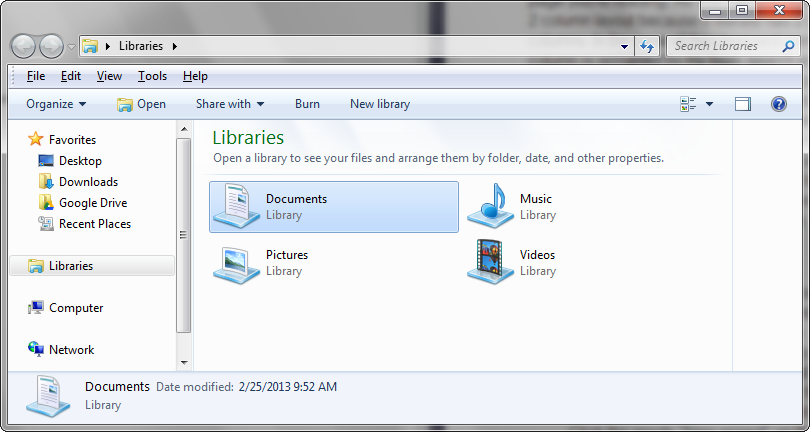
Fig. 1-1
To create your site directory, first select the location on your hard drive (Fig. 1-1). This can technically be any location at all, although it is best to choose one that is easy to remember and navigate to quickly. For our purposes, we'll use the Documents library in Windows 7.
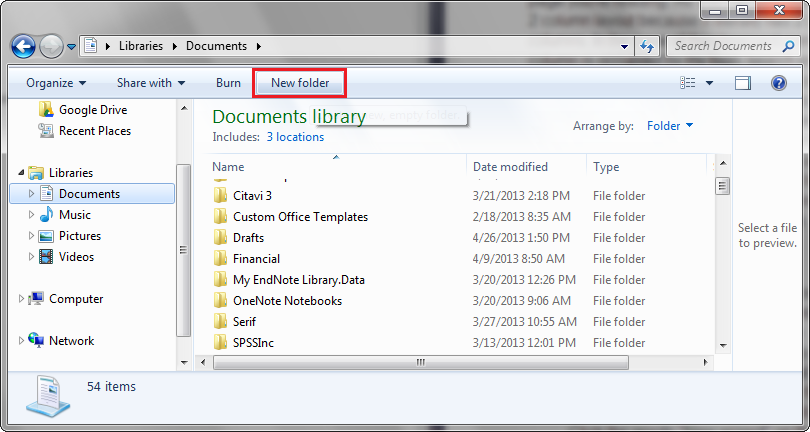
Fig. 1-2
Click on the New Folder button to create the main directory for your site (Fig. 1-2).
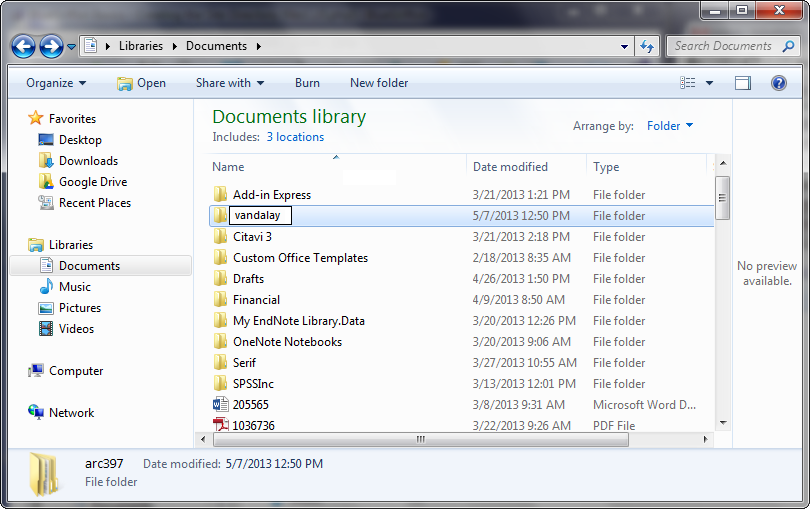
Fig. 1-3
Then we will name the directory, usually after the name of the site, in this case "vandalay" (Fig. 1-3).
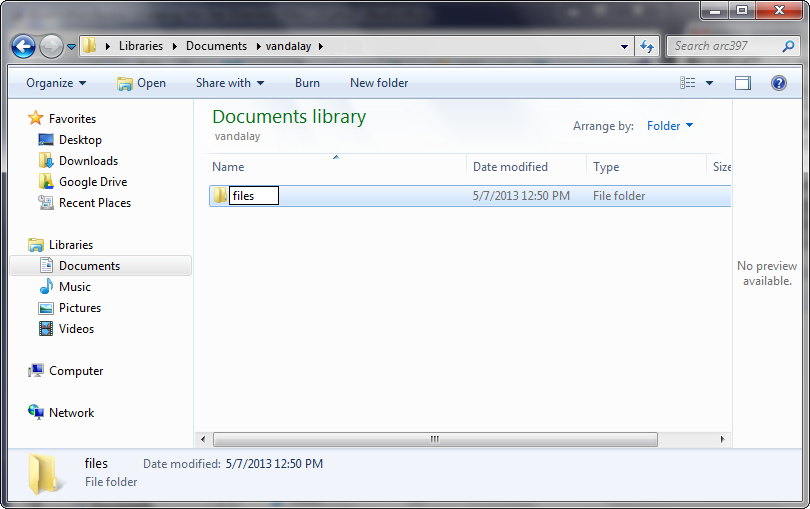
Fig. 1-4
Now that we have created the main directory, we will create a sub-directory in which to put all our associated files (Fig. 1-4). For this purpose, we will create another new folder called files. Note that we are keeping all of our file and directory names lowercase, with no spaces. This aids in navigating manually to specific pages in a browser if the need arises.
Now that you have created your site's main directory, you can open BlueGriffon and begin creating a new page, which is covered in the next section on The Home Page.