BlueGriffon Tutorial
<< Anchors and Links | Tables >>
Images
Images are a common element in webpages, and so being able to insert and use them effectively is key to creating a site that is able to maximize ease of access to your site while still providing relevant visuals.
Adding images to your page in BlueGriffon is a simple process, as we saw in the first section on the Home Page. For the sake of convenience, we will briefly cover once again how to insert them into a page and refresh updated images, before moving on to the more complex task of making existing text wrap around an image.
Before adding an image, you will want to move it to the files folder in your main site directory.
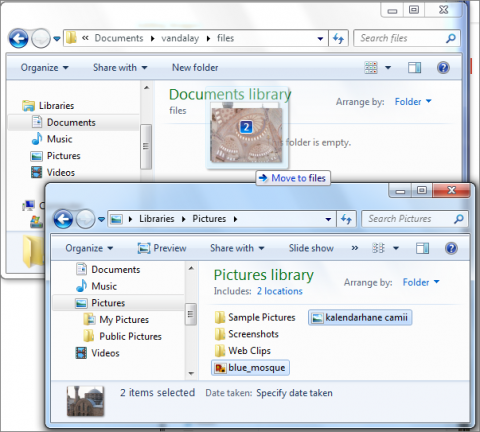
Fig. 7-1
To move the image or images to your files folder, first navigate to it. Then, open a new explorer window, and navigate to the location of the image(s). After selecting the image(s), click and drag to the window and release the mouse button (Fig. 7-1).
Adding Images

Fig. 7-2
To add an image, first click on the Insert or edit an image in the main toolbar (Fig. 7-2).
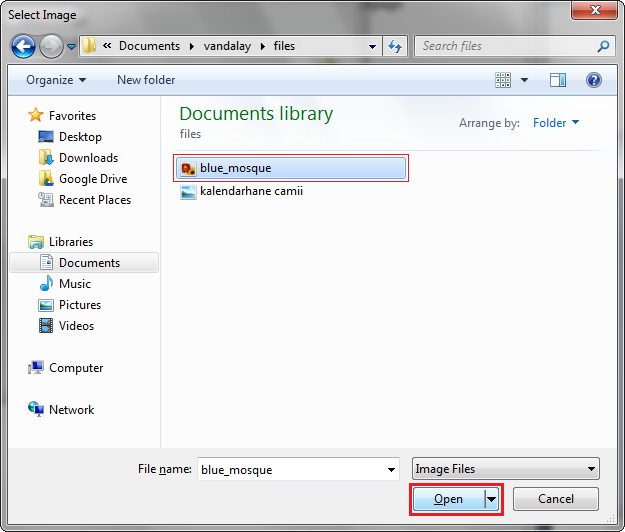
Fig. 7-3
Then select the image you want to insert, and click Open (Fig. 7-3).
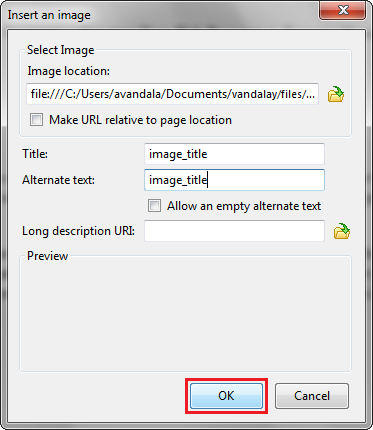
Fig. 7-4
Insert a title and an alternate text for the image, and click OK (Fig. 7-4). The title will be what appears when you move the mouse over the image, and the alternate text is what is read in assistive technology programs. Generally, the alt text describes the contents of the image, for those who have images disabled on their browser, or who are using a screen reader. Once the window disappears, your image should be successfully inserted into your page, at the location of the cursor.
Refreshing an Image
It may happen that when you go back and edit an image that appears in your site, BlueGriffon will still display the older version of the image. In this case, you can manually refresh the image. Earlier versions of the program were more apt to have this problem, although it is possible that such a thing could happen in the newer version as well, depending on the circumstances.

Fig. 7-5
First, click on the image you want to manually refresh (Fig. 7-5).
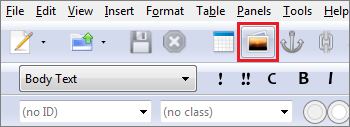
Fig. 7-6
With the image selected, click on the Insert or edit an image button in the main toolbar (Fig. 7-6).
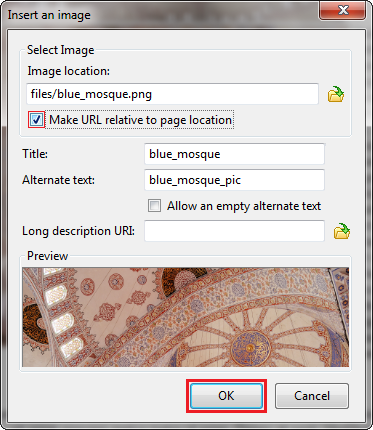
Fig. 7-7
Click the check box beside Make URL relative to page location, which will allow the program to refresh the image, and click OK (if you do not have Alternate text specified for you image, you will have to also click the check box Allow an empty alternate text in order to be able to apply the changes (Fig. 7-7).
After clicking OK, the image will be refreshed on your page to reflect the most recent changes made.
Text Wrapping
In order for your images to not clutter the page, it is neccessary to make the existing text wrap around in in such a way that it is still readable. To do this, you will need to have recourse to the Source view of BlueGriffon, and make use of some HTML coding. More on the Source view will be said later.
Fig. 7-8
To begin, first place the cursor directly to the right of the image. The cursor's position will act as a placeholder, allowing you to successfully locate the image within the HTML code (Fig. 7-8).
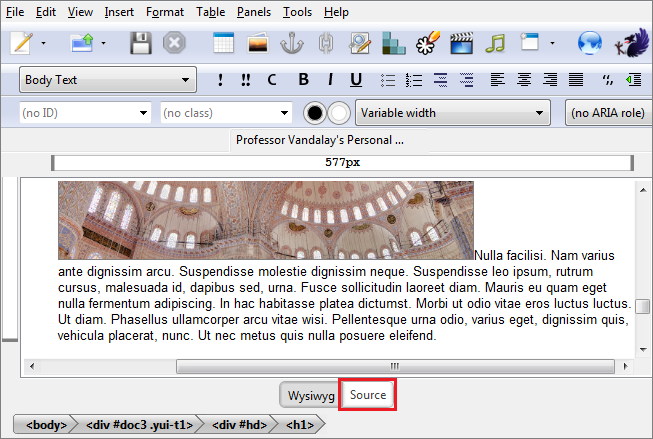
Fig. 7-9
Then, click on the Source tab at the bottom of the screen to switch to the Source view (Fig. 7-9).
Note. When in Source view, be careful to follow these instructions exactly. If you return to the Wysiwyg view, and the HTML is not properly coded (errors in the code will be indicated by BlueGriffon changing all the code within a particular paragraph to a red color), it will result in your page being irretrievably corrupted.
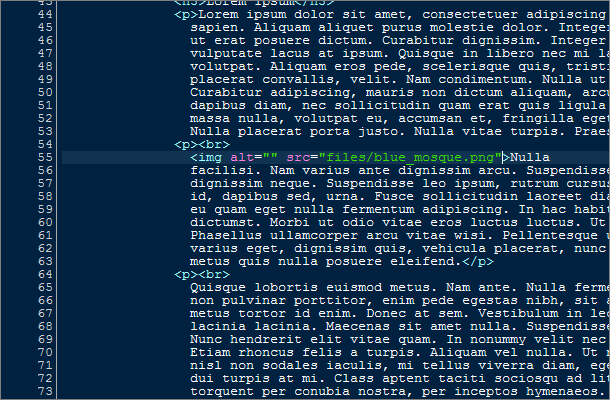
Fig. 7-10
After switching to the Source view, the line of HTML containing the image should be highlighted (Fig. 7-10). Place the cursor in between the last quotation mark (") and the carat (>).
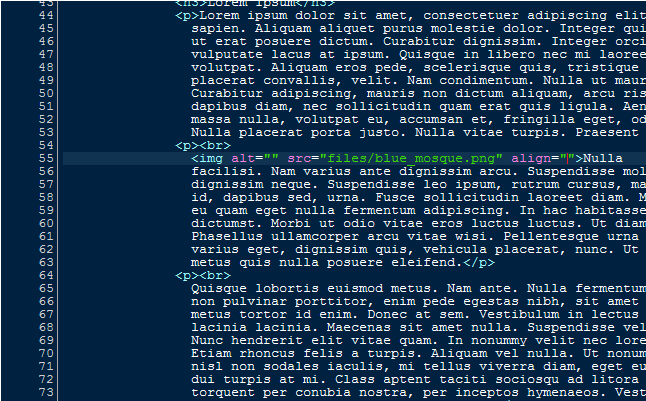
Fig. 7-11
Once the cursor was placed, spress the Space bar, and type align, then enter the = key. BlueGriffon will automatically enter two quotation marks (""), and place the cursor in between them (Fig. 7-11).
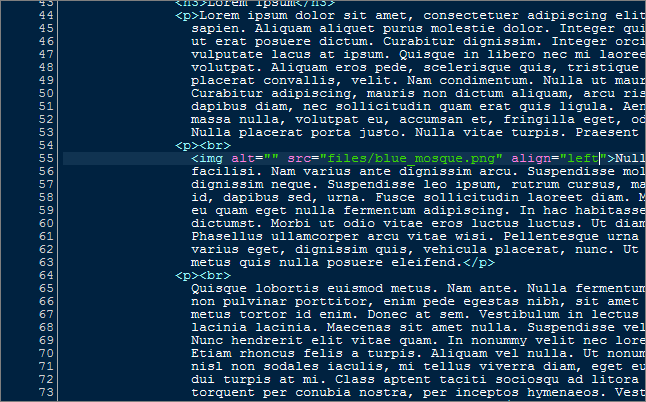
Fig. 7-12
Then, in between the quotation marks (""), type left. This will indicate to the program whether you want the image to be aligned. You may also enter center or right. The text will wrap around the image accordingly, as we will see shortly (Fig. 7-12).
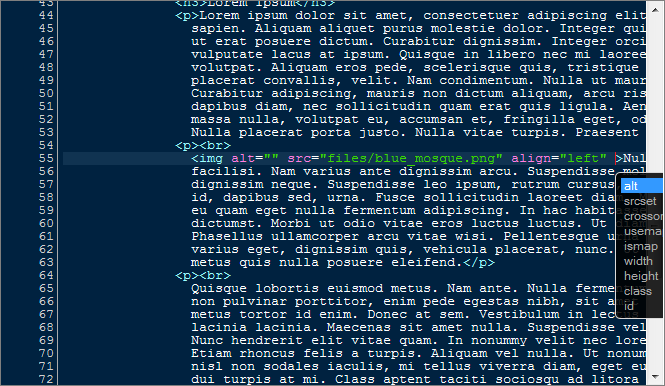
Fig. 7-13
After entering the image's alignment, place the cursor directly after the last quotation mark ("), and again before the carat (>). Press the Space bar (Fig. 7-13).
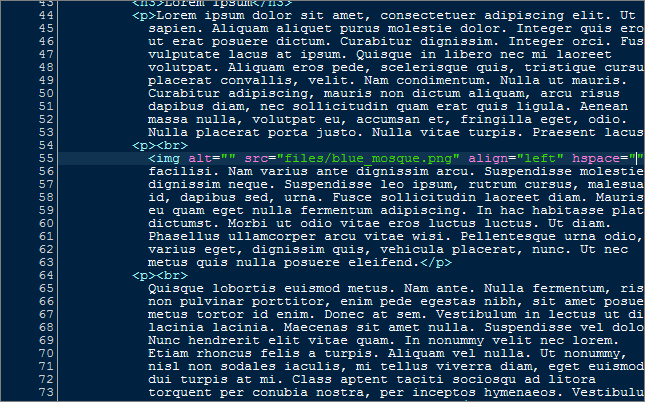
Fig. 7-14
Then, type hspace and press the = key, which will indicate to the program how much space you want in between the image and the surrounding text (Fig. 7-14).
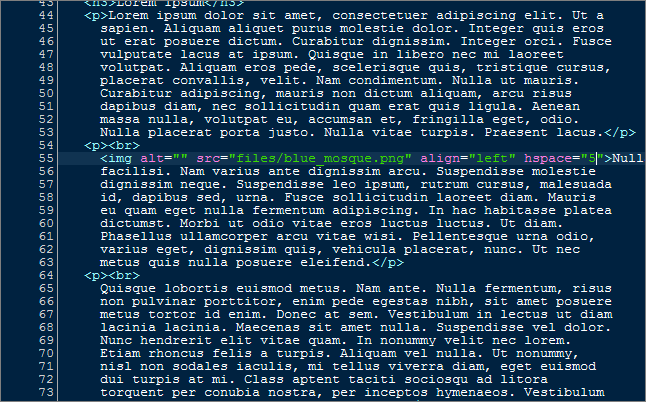
Fig. 7-15
You can then enter the value. In this case, enter 5 (Fig. 7-15).
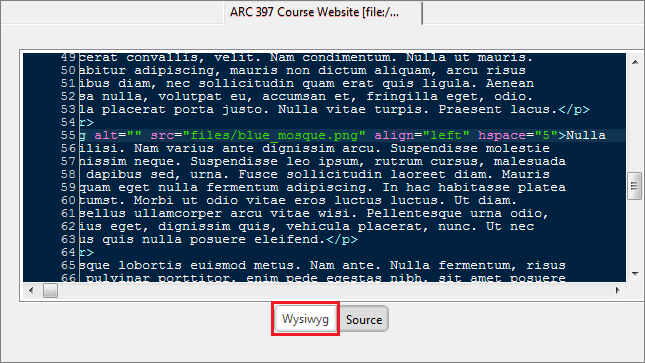
Fig. 7-16
Once finished, return to the normal editing view by clicking the Wysiwyg tab (Fig. 7-16).

Fig. 7-17
As you can see, the text now wraps around the image to the right (Fig. 7-17).
There are other additions you can make to your page, of course, besides images. Tables, for instance, can be an excellent way to make sure information on your site is displayed in an orderly fashion (provided, of course, that the browser window in which the page is being viewed is the correct size). This will be covered in the next section on Tables.