BlueGriffon Tutorial
<< Images | Audio and Video >>
Tables
Tables are an excellent way to organize information on your site. In this section, we will cover how to insert tables, as well as how to format them properly.
Inserting Tables

Fig. 8-1
To insert a table, click on the button in the main toolbar (Fig. 8-1), Insert new table...
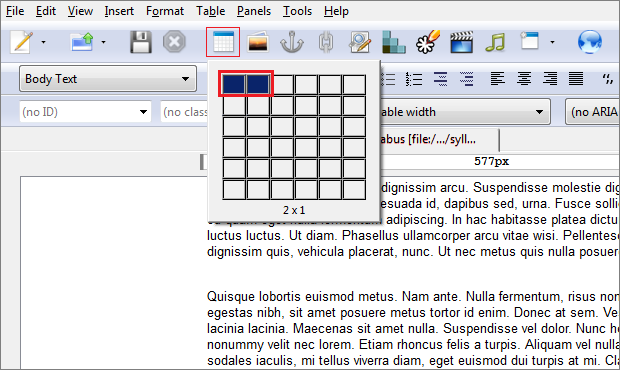
Fig. 8-2
A drop-down menu will then appear, in which you can define the dimensions of the table you would like to insert (Fig. 8-2). Move your mouse over the cells in the menu to indicate the dimensions, and then click the mouse button once.
Changing Table/Cell Properties
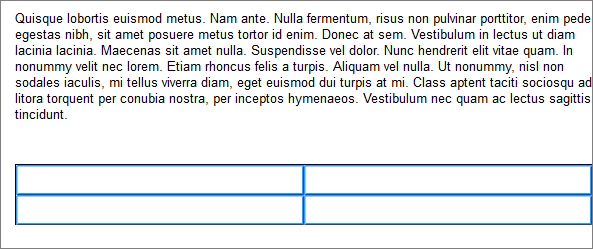
Fig. 8-3
Once the table is inserted, click and drag the mouse to select all the cells in the table (Fig. 8-3).
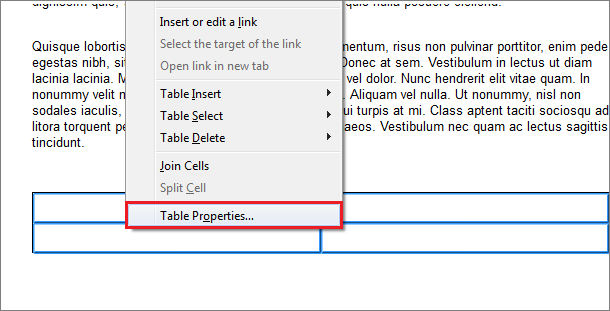
Fig. 8-4
Right-click the table, and select Table Properties (Fig. 8-4).
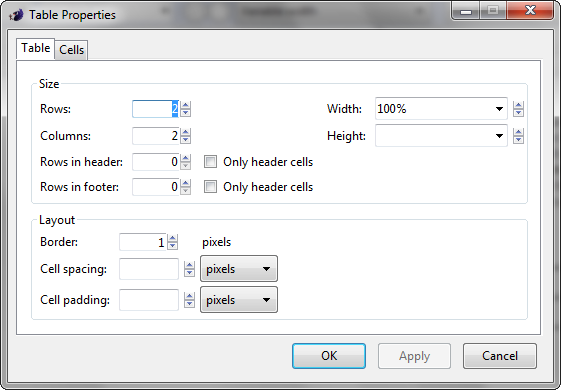
Fig. 8-5
From this Table tab, you can change the properties of the selected table, such as the number of rows and columns (Fig. 8-5), the width and height of the table in relation to the size of the browser window, and the weight of the table border (set Border to 0 if you do not want the border to be visible).
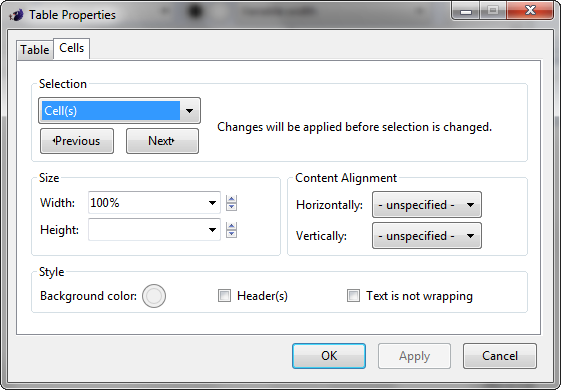
Fig. 8-6
In addition to changing the properties of the entire table, you can also change the properties of a particular cell in the table. You can do this by left-clicking inside the cell to place the cursor, then right-clicking in the cell, and selecting Table Properties. From the window that appears (Fig. 8-6), click on the Cells tab, where you can change the properties of the selected cell. Click Previous and Next to switch between different cells.
Joining Cells
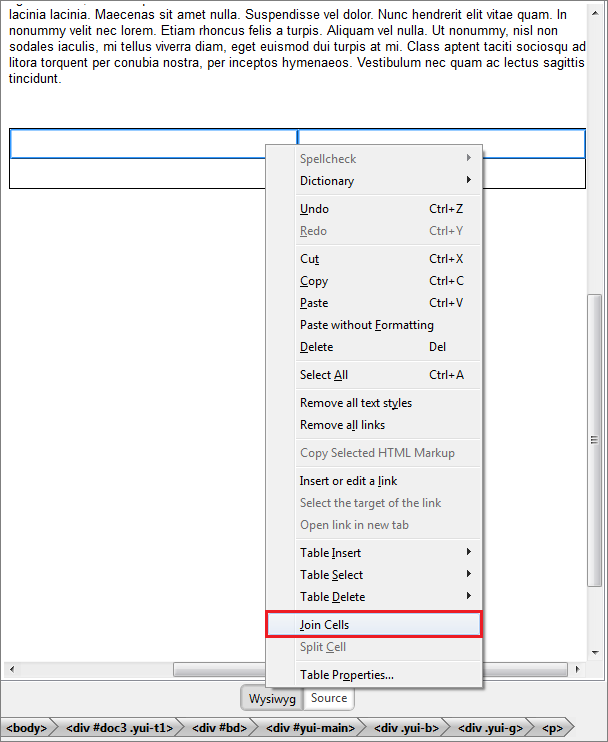
Fig. 8-7
To join cells in your table, left-click and drag the mouse cursor over the cells you would like to join (Fig. 8-7). Right-click anywhere in the selected area, and select Join Cells.
Changing Column Widths
In the above examples (Figs. 8-3 and 8-4), the column widths were identical, which is the default after creating tables in BlueGriffon. It is possible to change these, however, following the process outlined below.
To change the width of any of the columns in your table, click on the table, and navigate to the area just above the editing window, but below the site tab. You will see two white indicator bars, which will tell you the width of each of the columns. When your cursor changes to look like the one above, click and drag the space in between the indicator bars to change the column width.
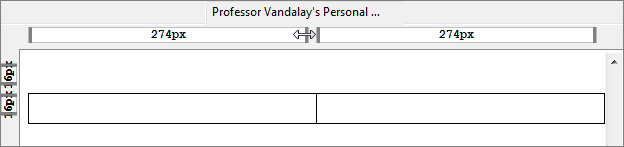
Fig. 8-8
As you drag the column to the left or right, its width will be changed accordingly (Fig. 8-8).
Selecting Specific Elements into a Table
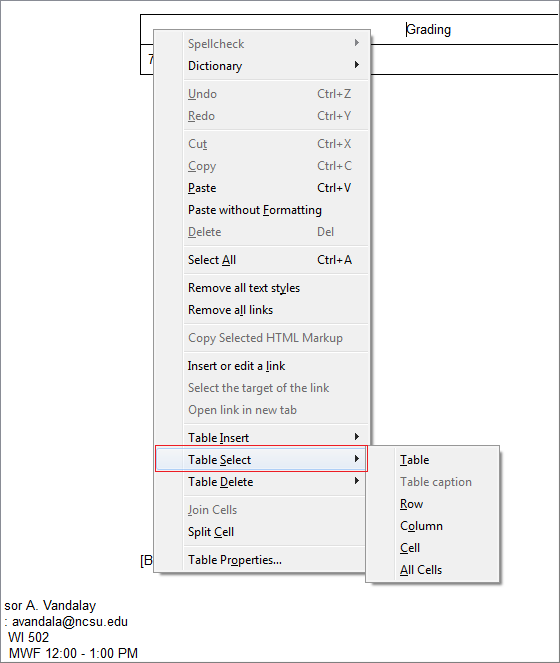
Fig. 8-9
To select particular elements in a table (or the entire table itself) without having to drag the mouse cursor, right-click anywhere in the table, and hover your mouse over Table Select (Fig. 8-9)
Inserting Additional Elements into a Table
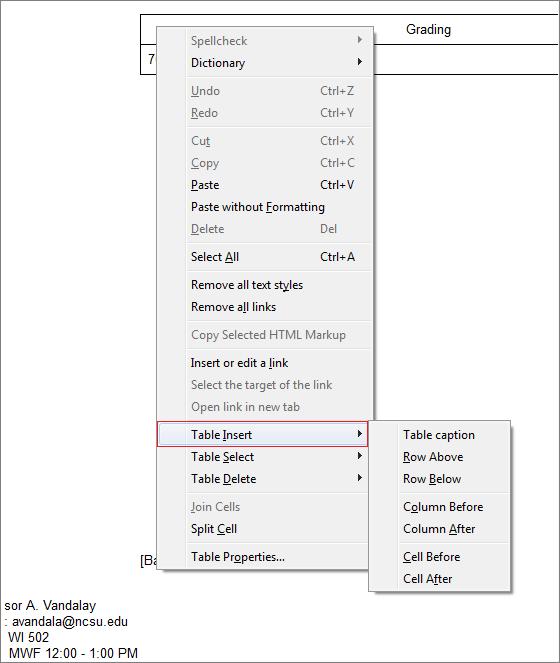
Fig. 8-10
To insert an element into your table, right-click anywhere in the table, and hover your mouse over the Table Insert option (Fig. 8-10).
Now that images and tables have been covered, we will now move on to inserting Audio and Video.