Google Sites Tutorial
<< Section One - Getting Started | Section Three - Editing Pages >>
Section Two - Building and Customizing Your Site
Once your site has been created, it will need a bit of tweaking before we begin to work on the content.
Managing the Site Preferences

Fig. 2-1
To access the site's preferences, click on the More Actions button at the top (gear icon), and select Manage site from the drop-down menu.

Fig. 2-2
Once you've reached the Manage Site page, you will see a navigation menu on the left, giving you various options for customization. By default, the General set of options should show up first. Here you can name your site, change its description, or set a different Landing page, which designates which page visitors to your site will see first. When you're finished customizing, simply click Save.

Fig. 2-3
Next, click on the Pages option in the sidebar. You will then see the different pages that are part of your site (at this point, only the Home page has been created). Click on Home to navigate to that page.
Changing the Site Layout
Although you could certainly leave the layout of your site the same if you wanted to, there are quite a few customizations you can make to ease navigation, or to simplify the design a bit.
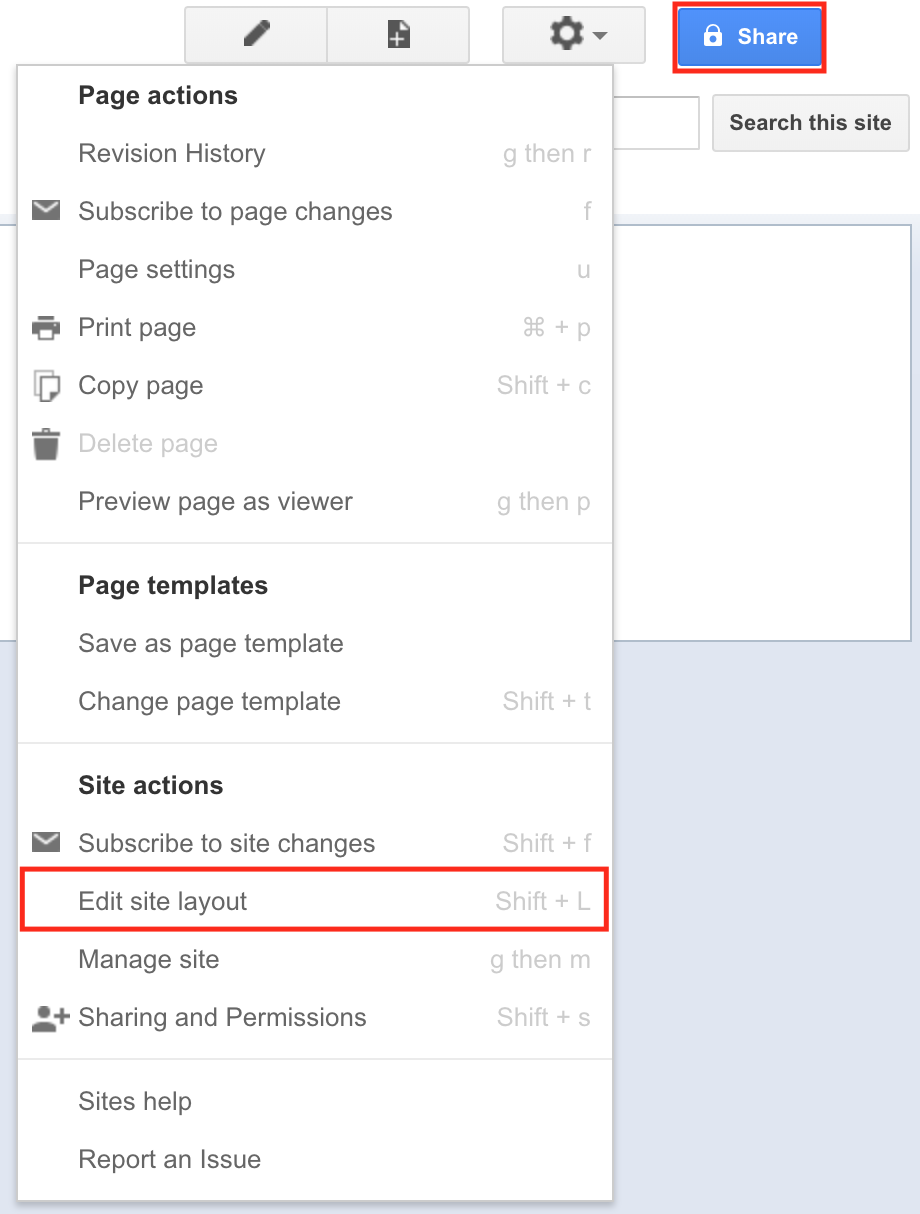
Fig. 2-4
First, click the More Actions button (gear icon), and select Edit site layout.

Fig. 2-5
While in the Edit site layout screen, you can select different parts of the layout to add, delete, or change them. You can add or subtract elements using the top toolbar as well. Let's start with site navigation. The pages of your site can either be accessed via a sidebar (on the left or the right), or alternatively on a bar at the top. For a more classic website design, for the purpose of this tutorial we will opt for the latter (we will return to the Sidebar in Section Nine). Click on Horizontal navigation to enable it.

Fig. 2-6
Because it would look a bit odd to have both horizontal and vertical navigation on the site, we will disable the sidebar by clicking on Sidebar in the toolbar at the top to disable it.

Fig. 2-7
Now that the navigation part of the site's layout has been customized, we can customize the header. To do this, click on the header to edit it.

Fig. 2-8
When the Configure site header window appears, you can customize the height, as well as the alignment of the header. You can also add or remove a logo for the site, choosing the default (NC State), adding your own, or select none. For the purpose of this tutorial, we will select No logo. Click OK when finished.

Fig. 2-9
Once you're finished editing the site layout, click on the Close button at the top right-hand corner of the screen.
Configure Navigation Bar
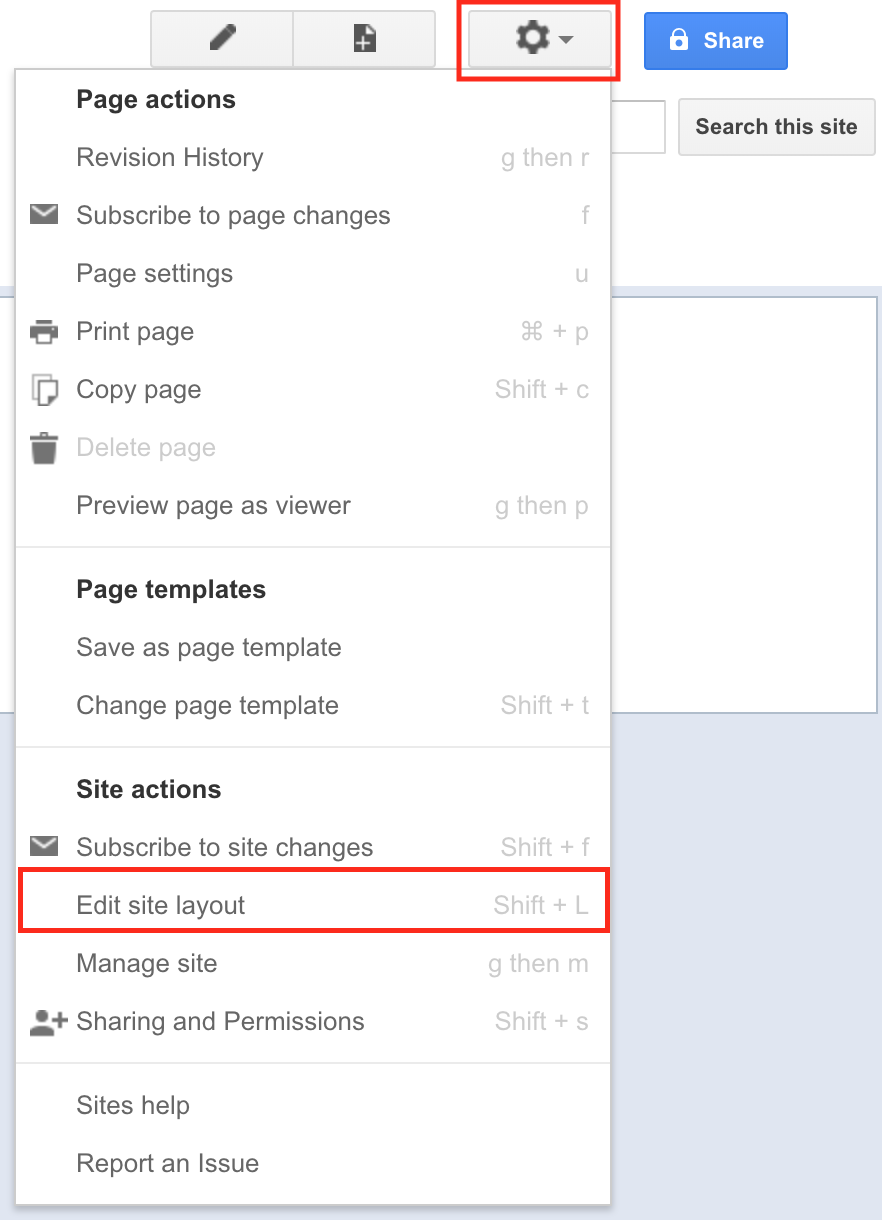
Fig. 2-10
First, click the More Actions button (gear icon), and select Edit site layout. To edit the navigation bar, click on it to open the Configure navigation window.

Fig. 2-11
Once the window appears, you can add or change the order of pages in the navigation bar, as well as change its style. For the purpose of this tutorial, we will select Tabs. Click OK when finished.
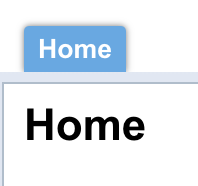
Fig. 2-12
The navigation bar will now show the various pages as tabs, rather than boxes, which is the default for this particular theme.
Once you're finished editing the navigation bar, click on the Close button at the top right-hand corner of the screen.
<< Section One - Getting Started | Section Three - Editing Pages >>
[Back to Top]