Google Sites Tutorial
<< Section Two - Build/Customize Your Site | Section Four - Adding Pages >>
Section Three - Editing Pages
Now that your site has been built, and the layout customized, we will now cover how to edit a page in the site. We will begin with the Home page, the page already created by default.

Fig. 3-1
To edit a page, click on the Edit Page button at the top of the screen (pencil icon).

Fig. 3-2
Then, click on the body of the page. A light dotted outline will appear, delineating where you can enter the page's content. From this point, Google Sites works in a very similar fashion to a word processor. Notice the formatting toolbar at the top, giving you various options to choose from in customizing text.
Adding an Image
Although much of the website content will likely be text, images can also be a useful aid to making a site look more professional.
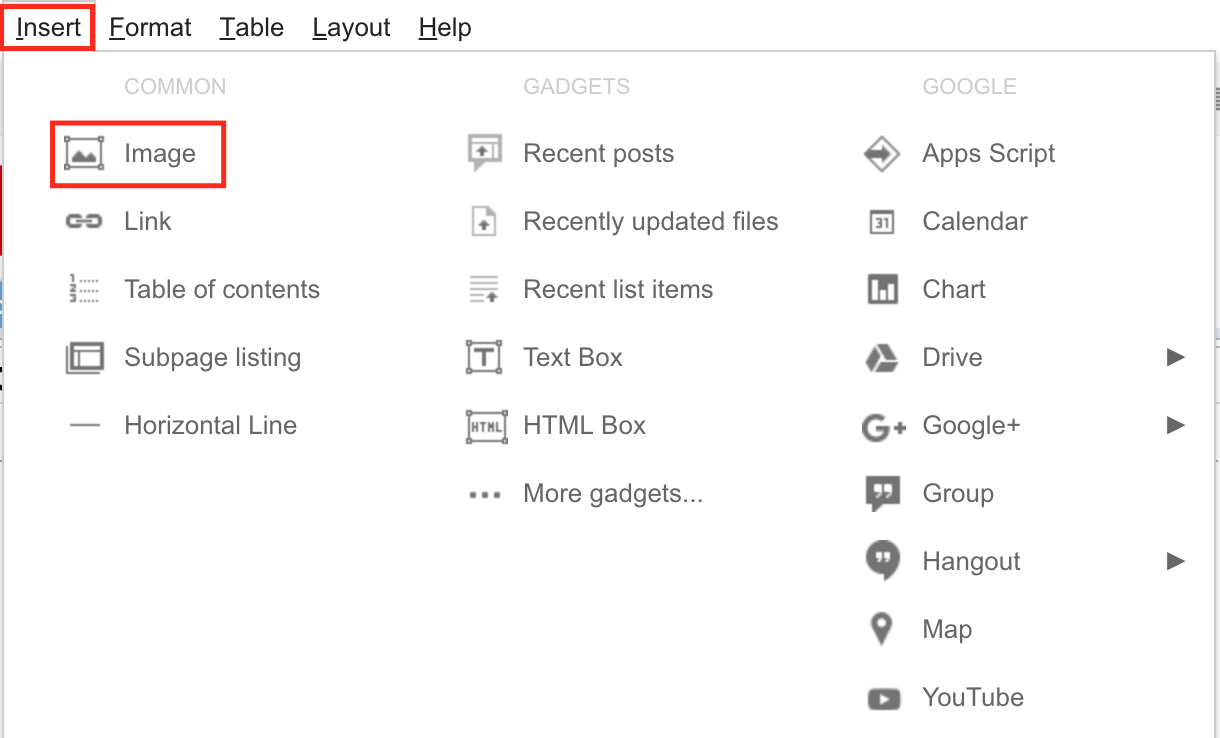
Fig. 3-3
To insert an image, click on the Insert tab in the main menu, and select Image.

Fig. 3-4
To add an image from your hard drive, select Upload Images, and navigate to the file's location. After it has been selected, click Open to upload it to Google. After it has been uploaded, click OK to insert it into the page.

Fig. 3-5
It may be the case that the image you want to insert is too big for the page in its original resolution. If that is the case, you can either re-size it manually, or use the image toolbar that appears, which allows you to change the size, position, and text wrapping. In this case, we will click on S, which will make the image small.
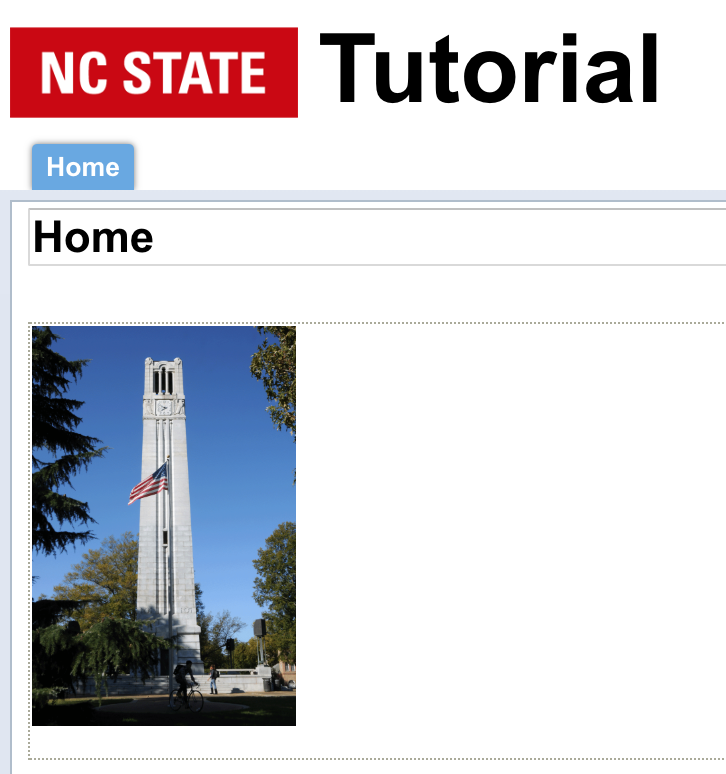
Fig. 3-6
Once your image has been re-sized, it should look like the figure above. More will be said later on the other objects you can insert in Section Seven: Adding Objects.
<< Section Two - Build/Customize Your Site | Section Four - Adding Pages >>
[Back to Top]